
Accessing Remote Projects Settings
To open Remote Projects settings:- Open Settings (click the gear icon or press the settings shortcut)
- Select Remote Projects from the sidebar
You must be signed in to access Remote Projects. If you’re not signed in, you’ll see a prompt to sign in first.
Understanding the Layout
The Remote Projects page has a two-column layout:| Column | Description |
|---|---|
| Organisations | Lists all organisations you belong to. Personal organisations are marked with a “Personal” badge. |
| Projects | Shows projects in the selected organisation. Click the + button to create a new project. |
Viewing Projects
Creating a Project
To create a new project in an organisation:Enter project details
In the dialog that appears: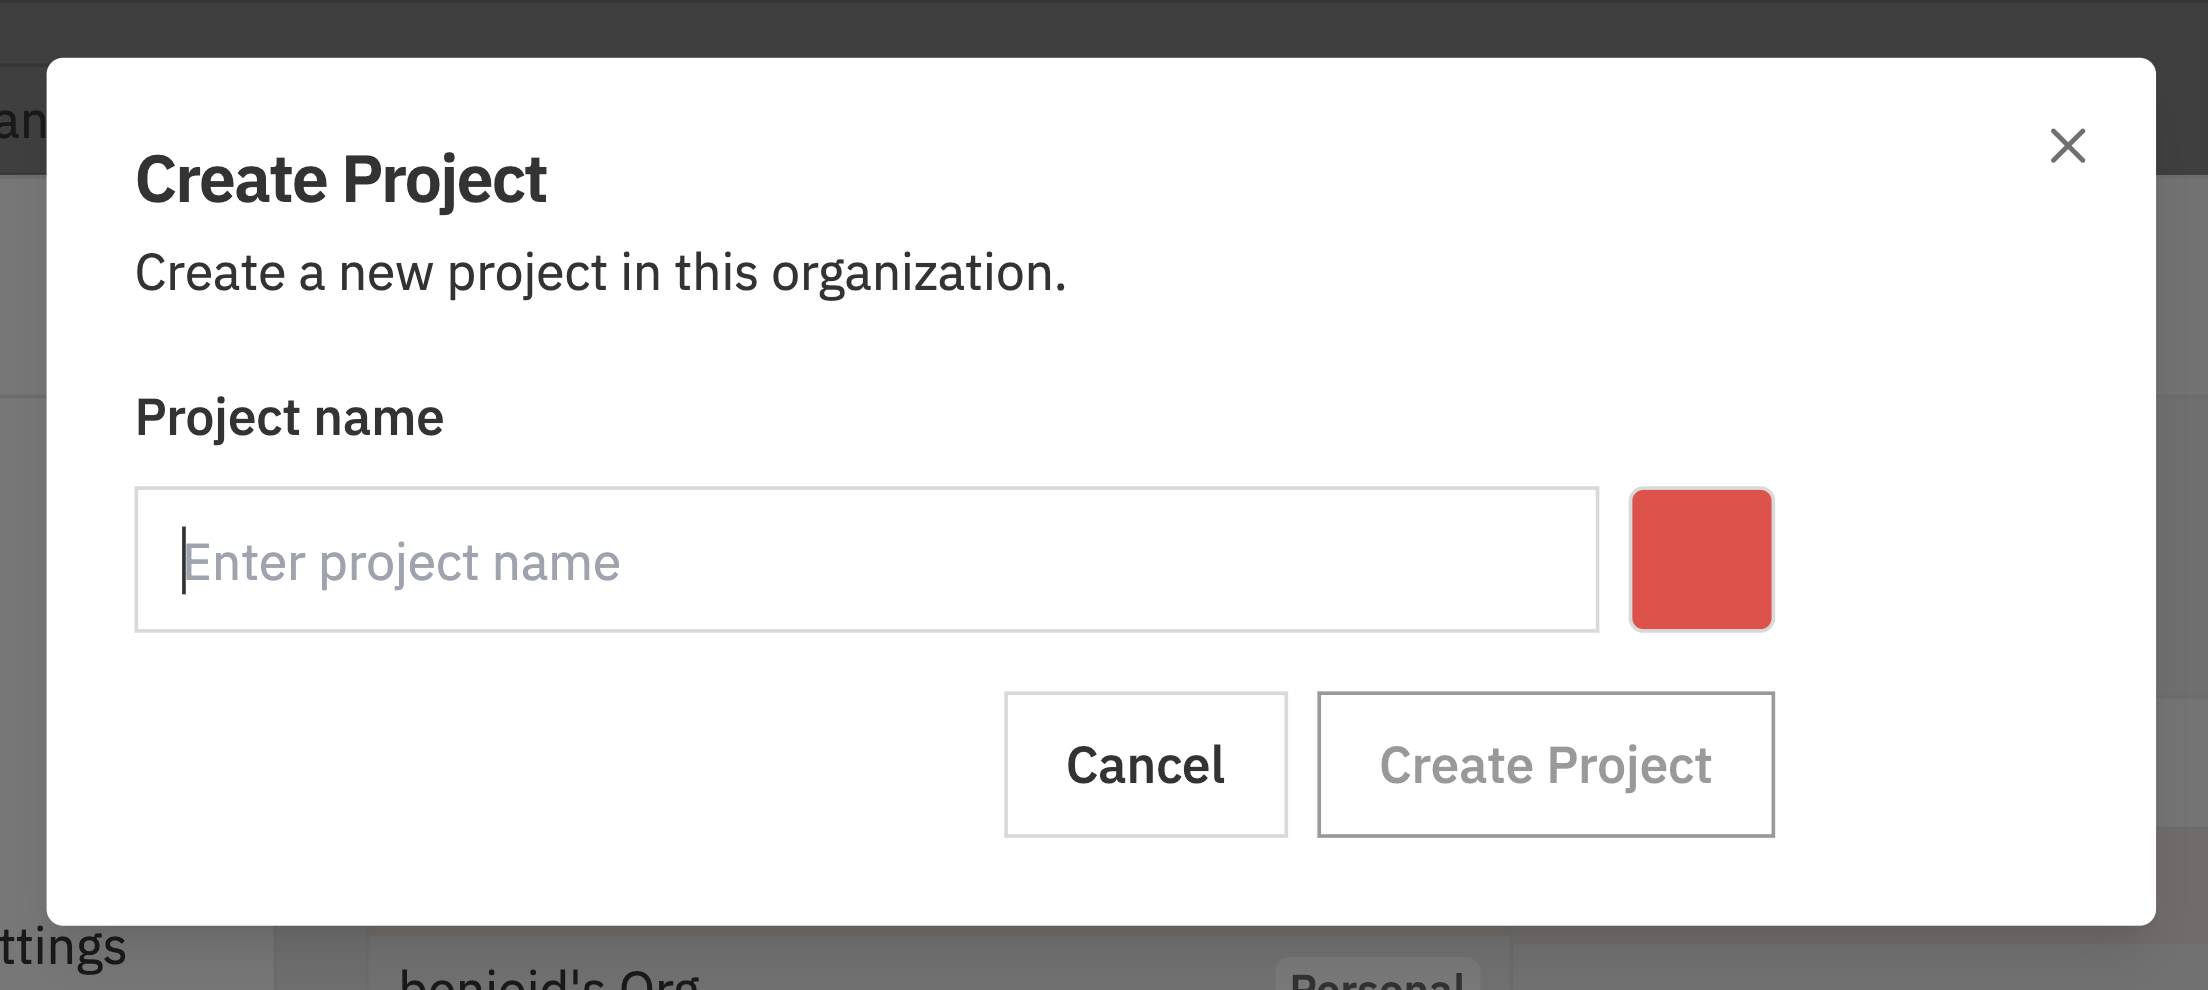
- Project Name - Enter a name for your project
- Project Colour - Click the colour swatch to choose a colour
Editing a Project
To edit an existing project:Select the project
Click on the project you want to edit. An edit form appears below the two-column picker.
Make changes
Update the project details: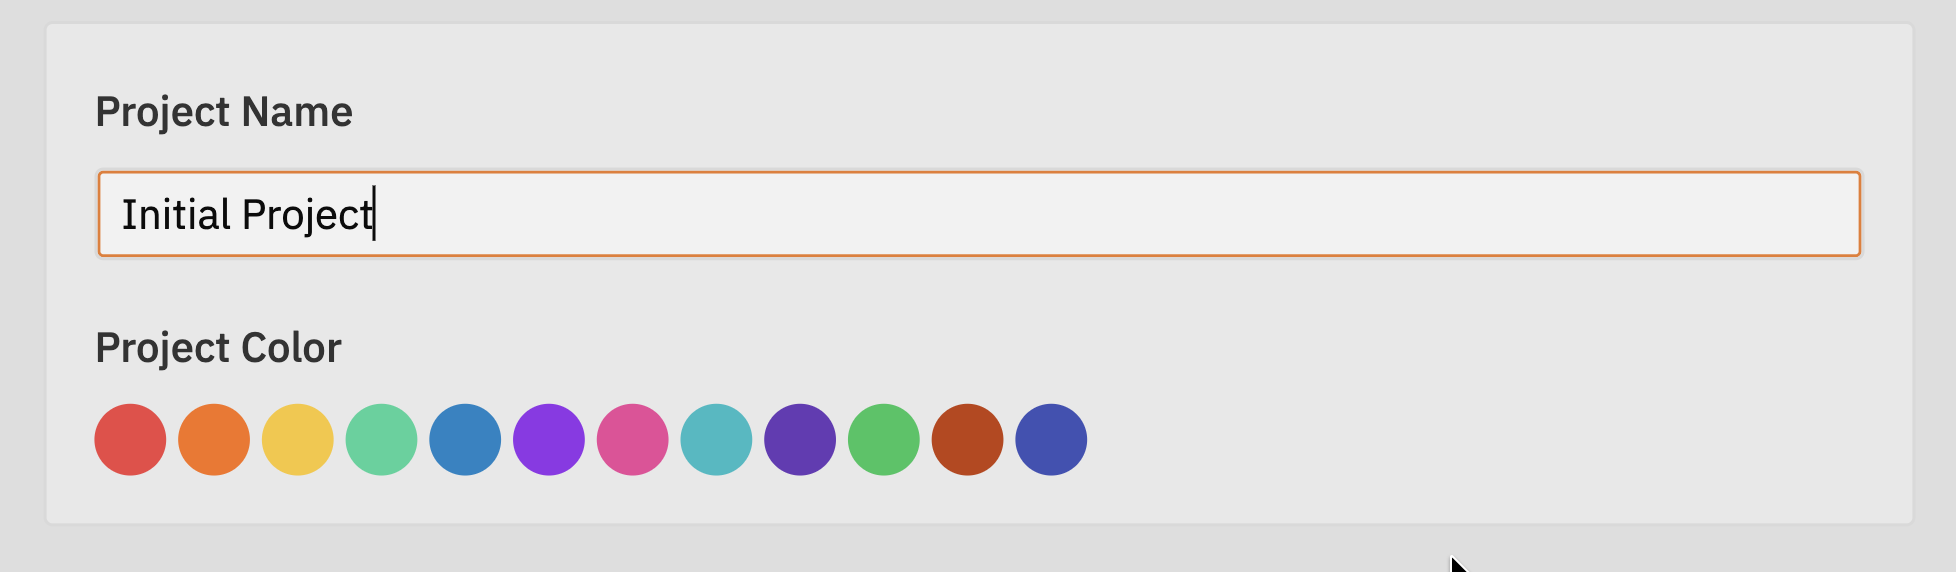
- Project Name - Change the display name
- Project Colour - Select a different colour from the palette
Changes sync automatically to all team members in the organisation.
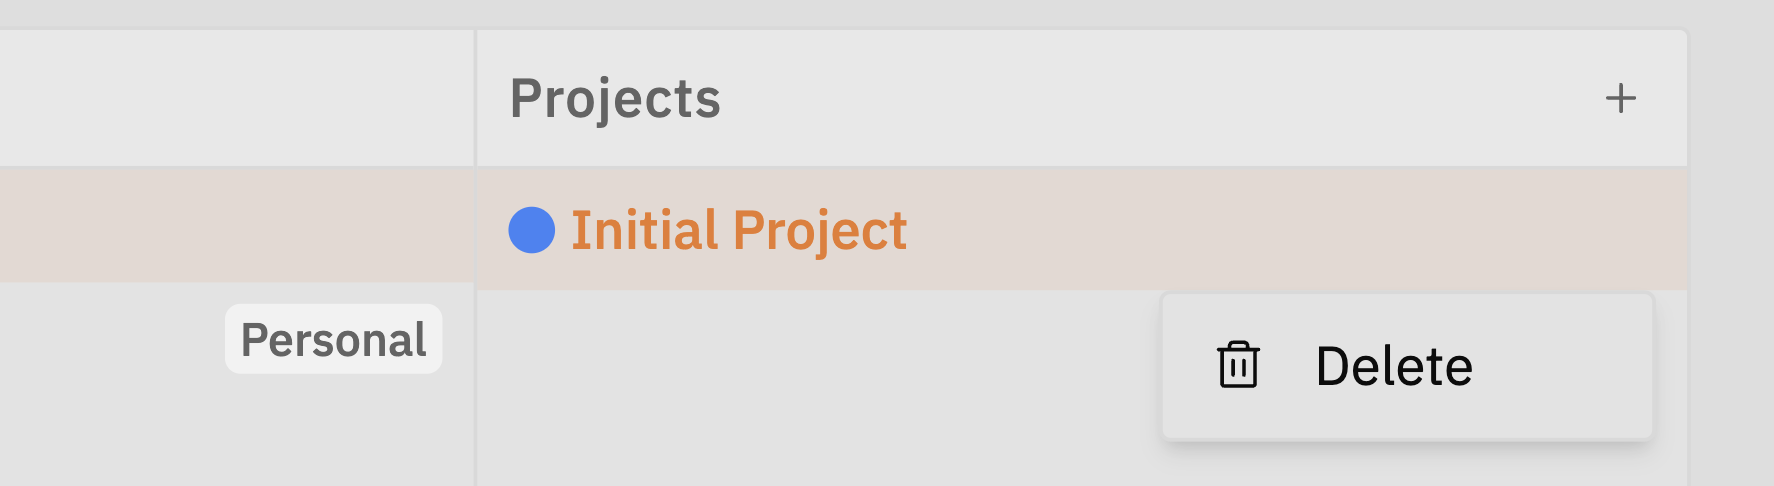
Deleting a Project
To delete a project: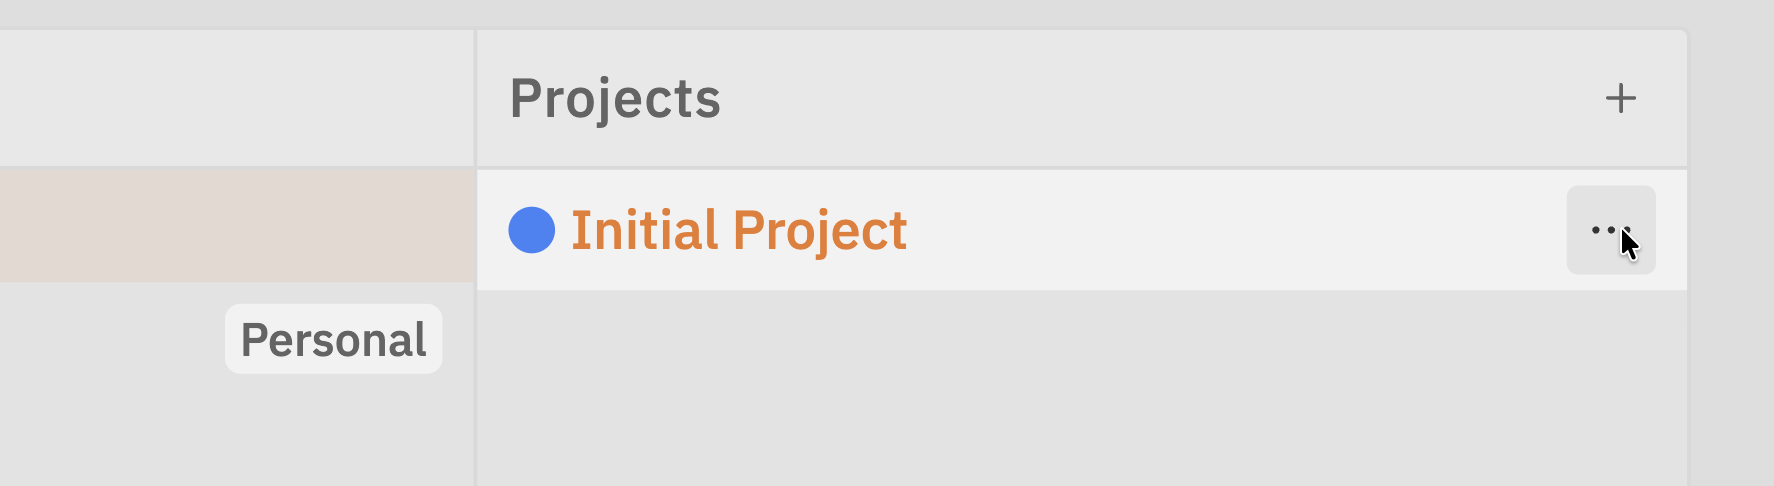
Switching Between Organisations
If you belong to multiple organisations, you can quickly switch between them:- Click on a different organisation in the left column
- The projects list updates to show that organisation’s projects
- If you have unsaved changes, you’ll be prompted to discard them first
Troubleshooting
I don't see any organisations
I don't see any organisations
Make sure you’re signed in. If you just signed up, a personal organisation should have been created automatically.If you still don’t see any organisations:
- Sign out and sign back in
- Check your internet connection
- Try refreshing the page
I can't create a project
I can't create a project
Check the following:
- You must have an organisation selected
- You need to be signed in
- Check your internet connection
My changes aren't saving
My changes aren't saving
The save bar appears when you have unsaved changes. Make sure to click Save before:
- Selecting a different project
- Selecting a different organisation
- Closing the settings dialog
Related Documentation
- Projects - Working with projects on the kanban board
- Organisation Settings - Managing organisation members
- Organisations - Understanding organisations