Documentation Index
Fetch the complete documentation index at: https://vibekanban.com/docs/llms.txt
Use this file to discover all available pages before exploring further.
How Repositories Work in Workspaces
When you add a repository to a workspace, Vibe Kanban creates a git worktree - a separate working directory linked to your repository.What is a git worktree?
What is a git worktree?
A git worktree is a git feature that lets you have multiple working directories for the same repository, each on a different branch.Why this matters for you:
- Your original repository folder stays exactly as it was
- The workspace gets its own folder with its own branch
- You can have multiple workspaces working on different features simultaneously
- Switching between workspaces doesn’t require stashing or committing
.vibe-kanban-workspaces directory (configurable in Settings).What is 'independent git state'?
What is 'independent git state'?
Each repository in a workspace has its own:
- Working branch - The branch where changes are made
- Target branch - The branch you’ll merge into
- Commit history - Commits made in this workspace
- Staged/unstaged changes - Independent of other workspaces
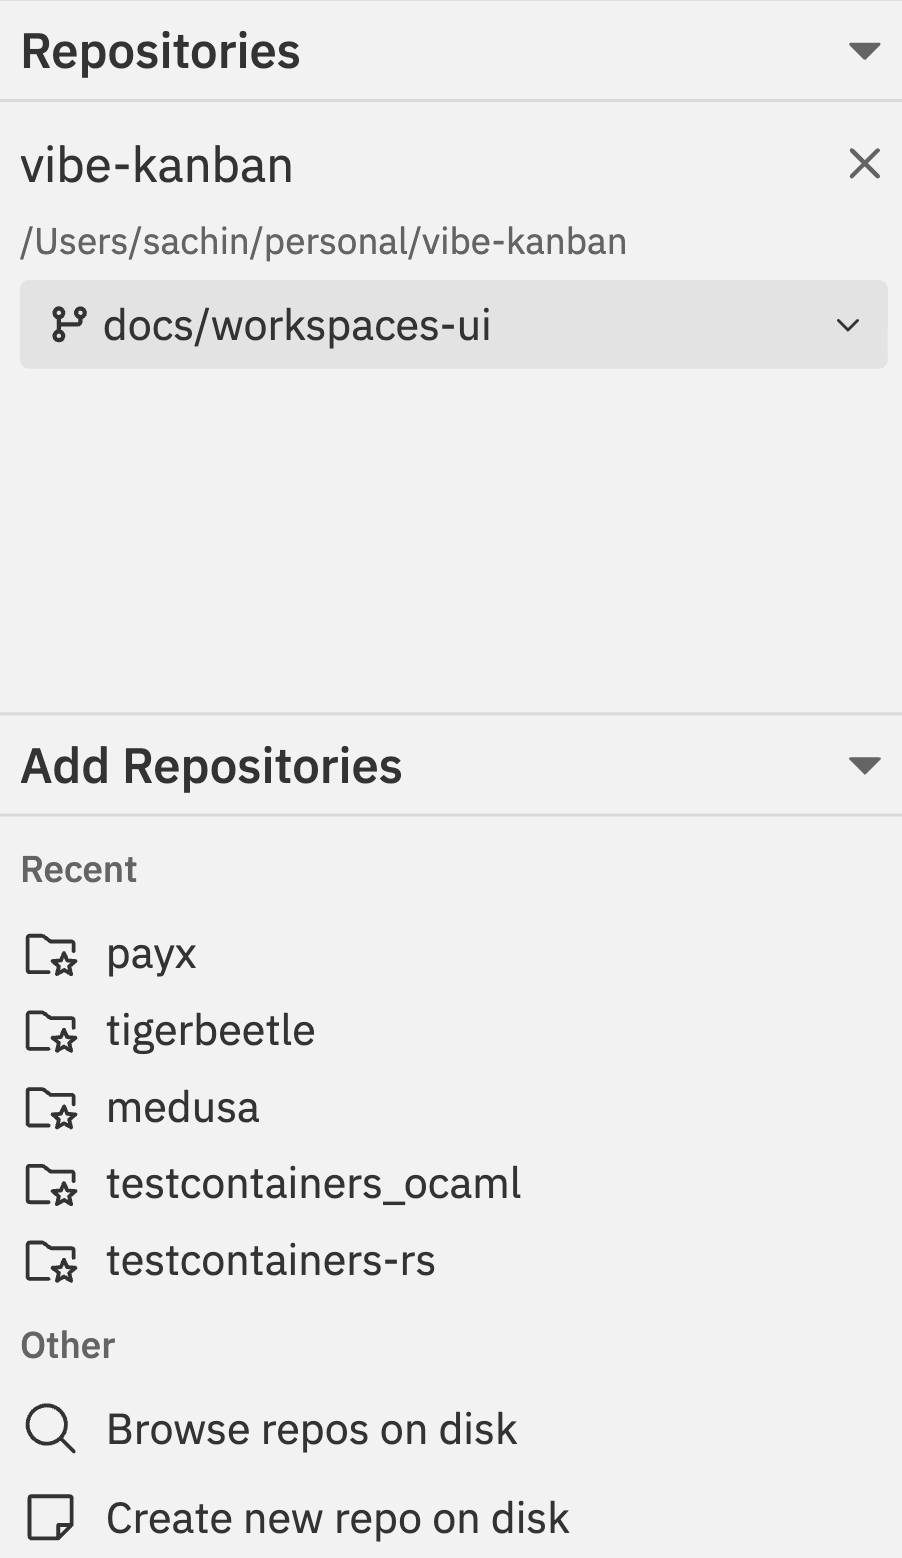
Adding Repositories
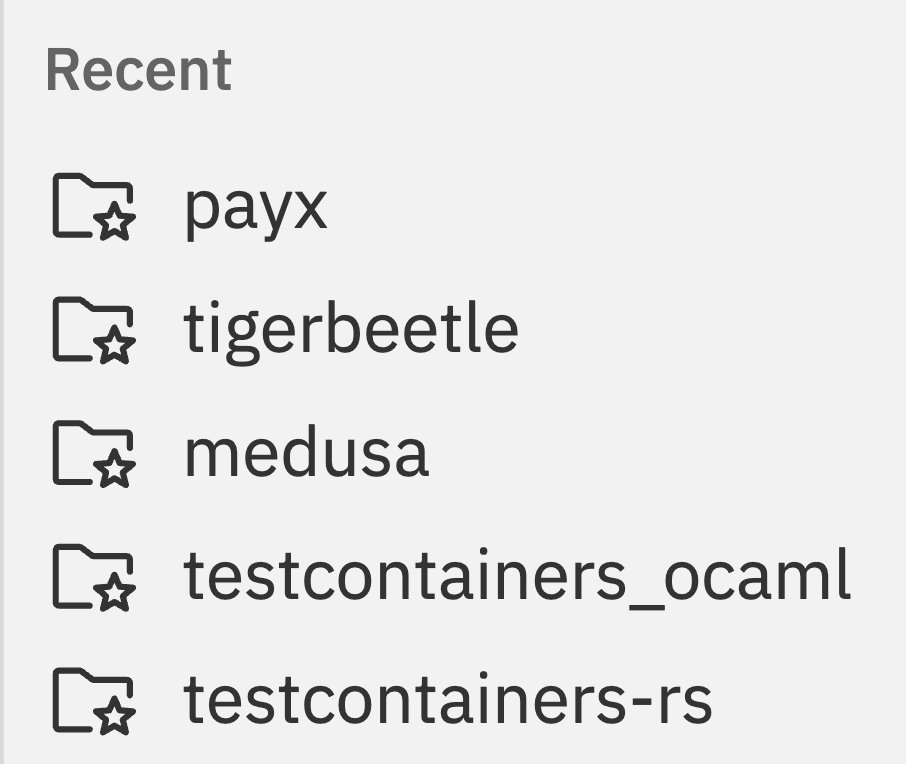
When creating or editing a workspace, you can add repositories from several sources:Recent Repositories
Browse Repos on Disk
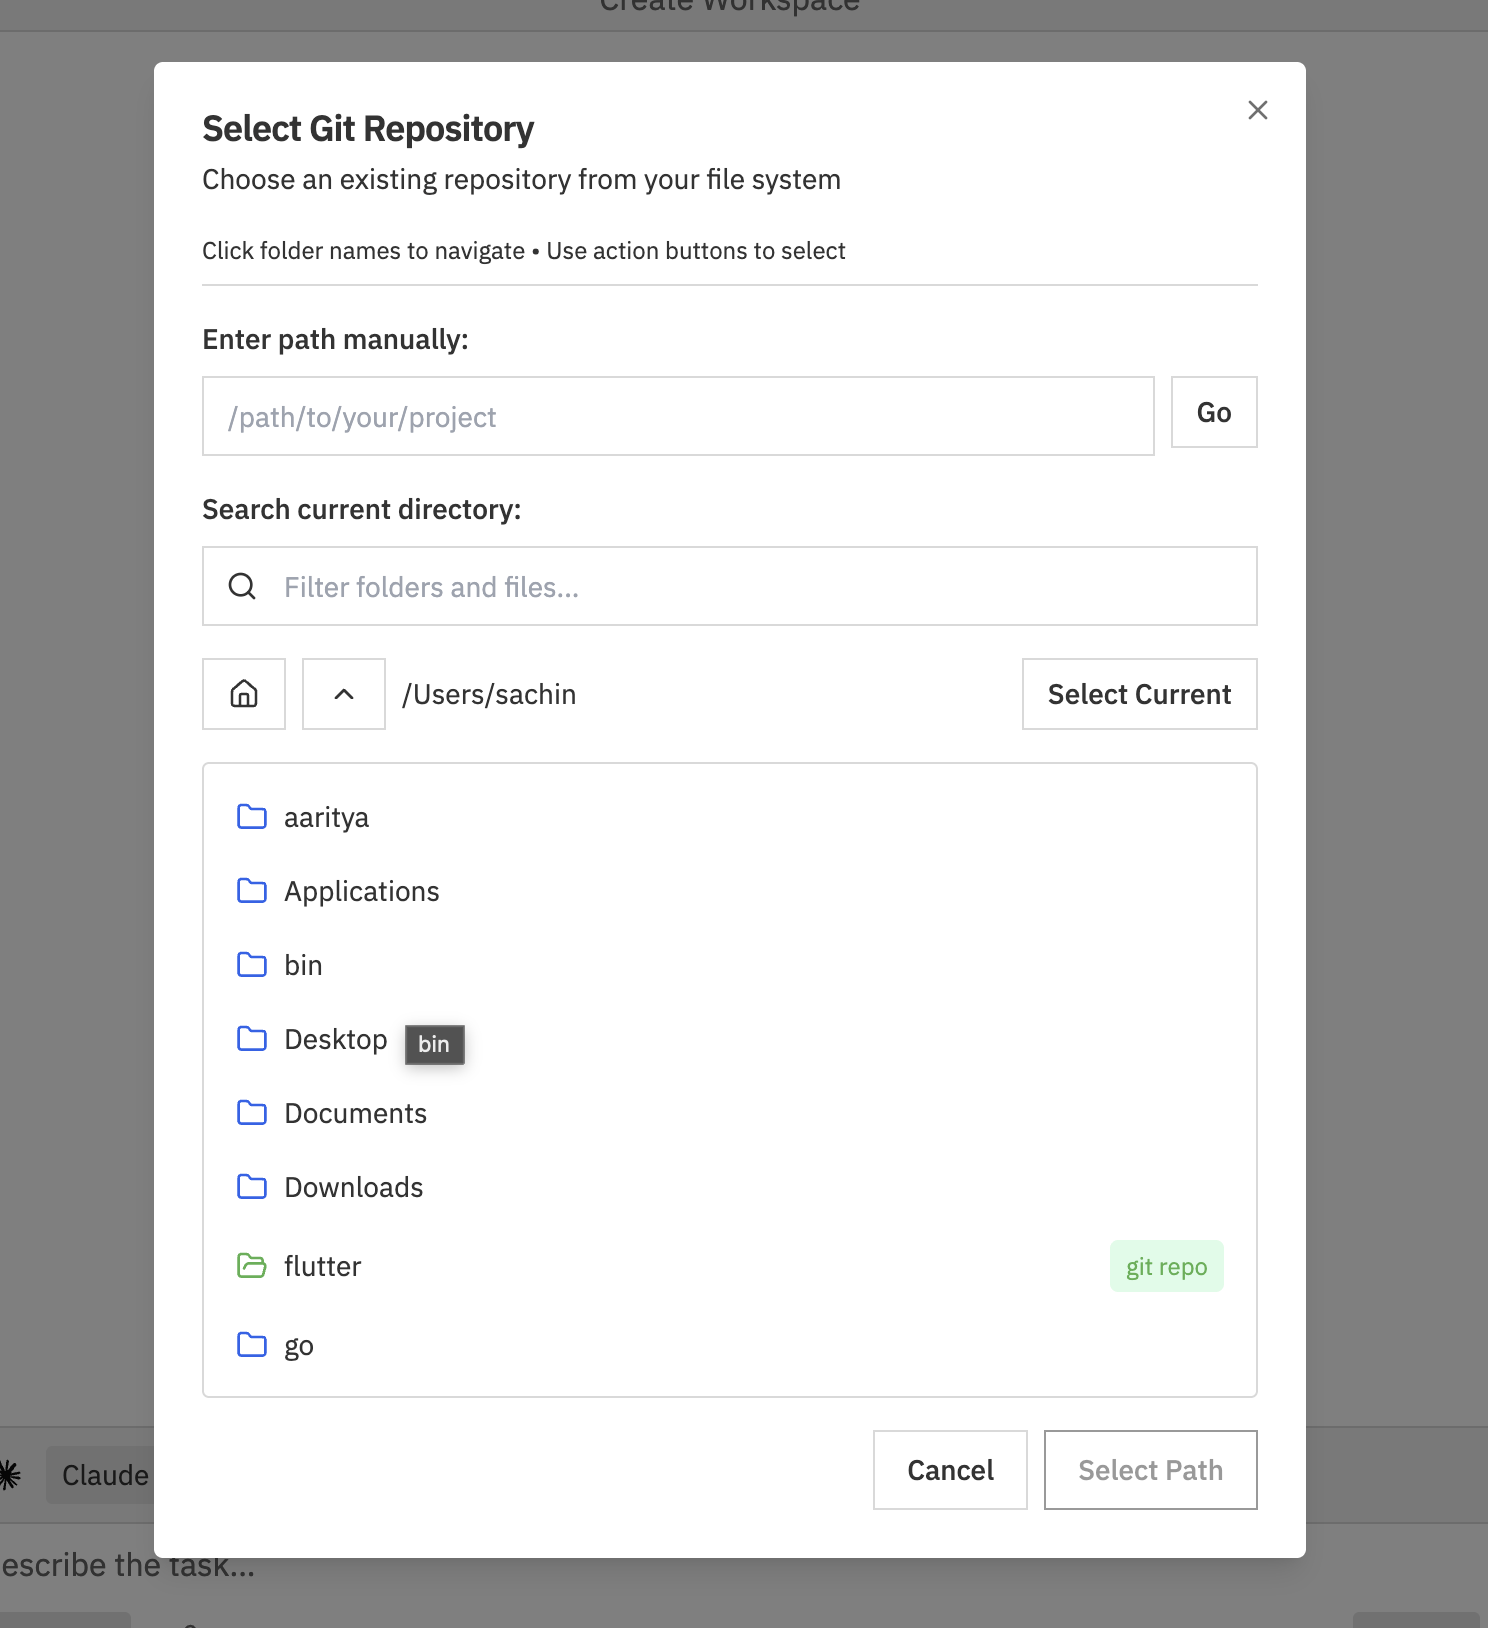
- Enter path manually - Type the full path and click Go
- Search current directory - Filter folders by name
- Navigate folders - Click folder names to browse, use home and up buttons
- Select Current - Use the current directory as the repository
Create New Repo on Disk
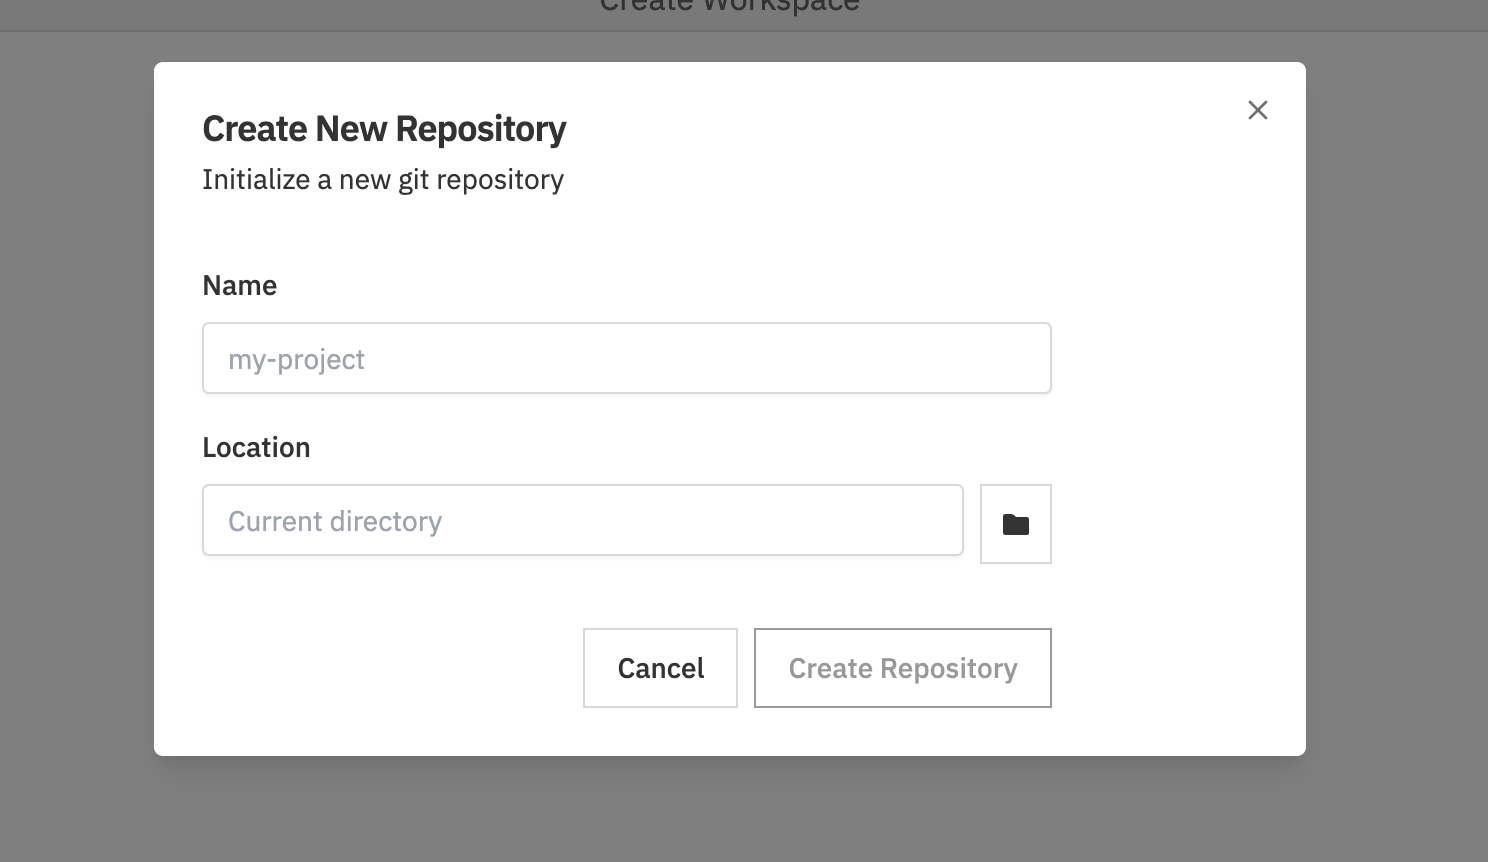
- Enter a Name for the repository
- Choose a Location on disk (click the folder icon to browse)
- Click Create Repository
Target Branches
main, master, or develop).
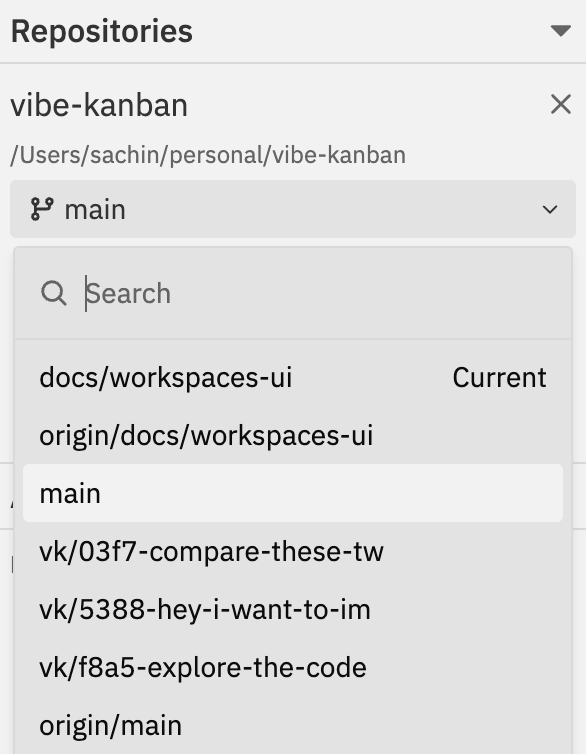
Setting the Target Branch
- Click the branch dropdown next to the repository name
- Search or scroll to find the branch you want to target
- Select the branch - the workspace creates a working branch based on this target
- Current badge - indicates your current branch
- Local branches - branches on your machine
- Remote branches - branches from origin (e.g.,
origin/main)
Changes you make won’t affect the target branch until you create a pull request and merge.
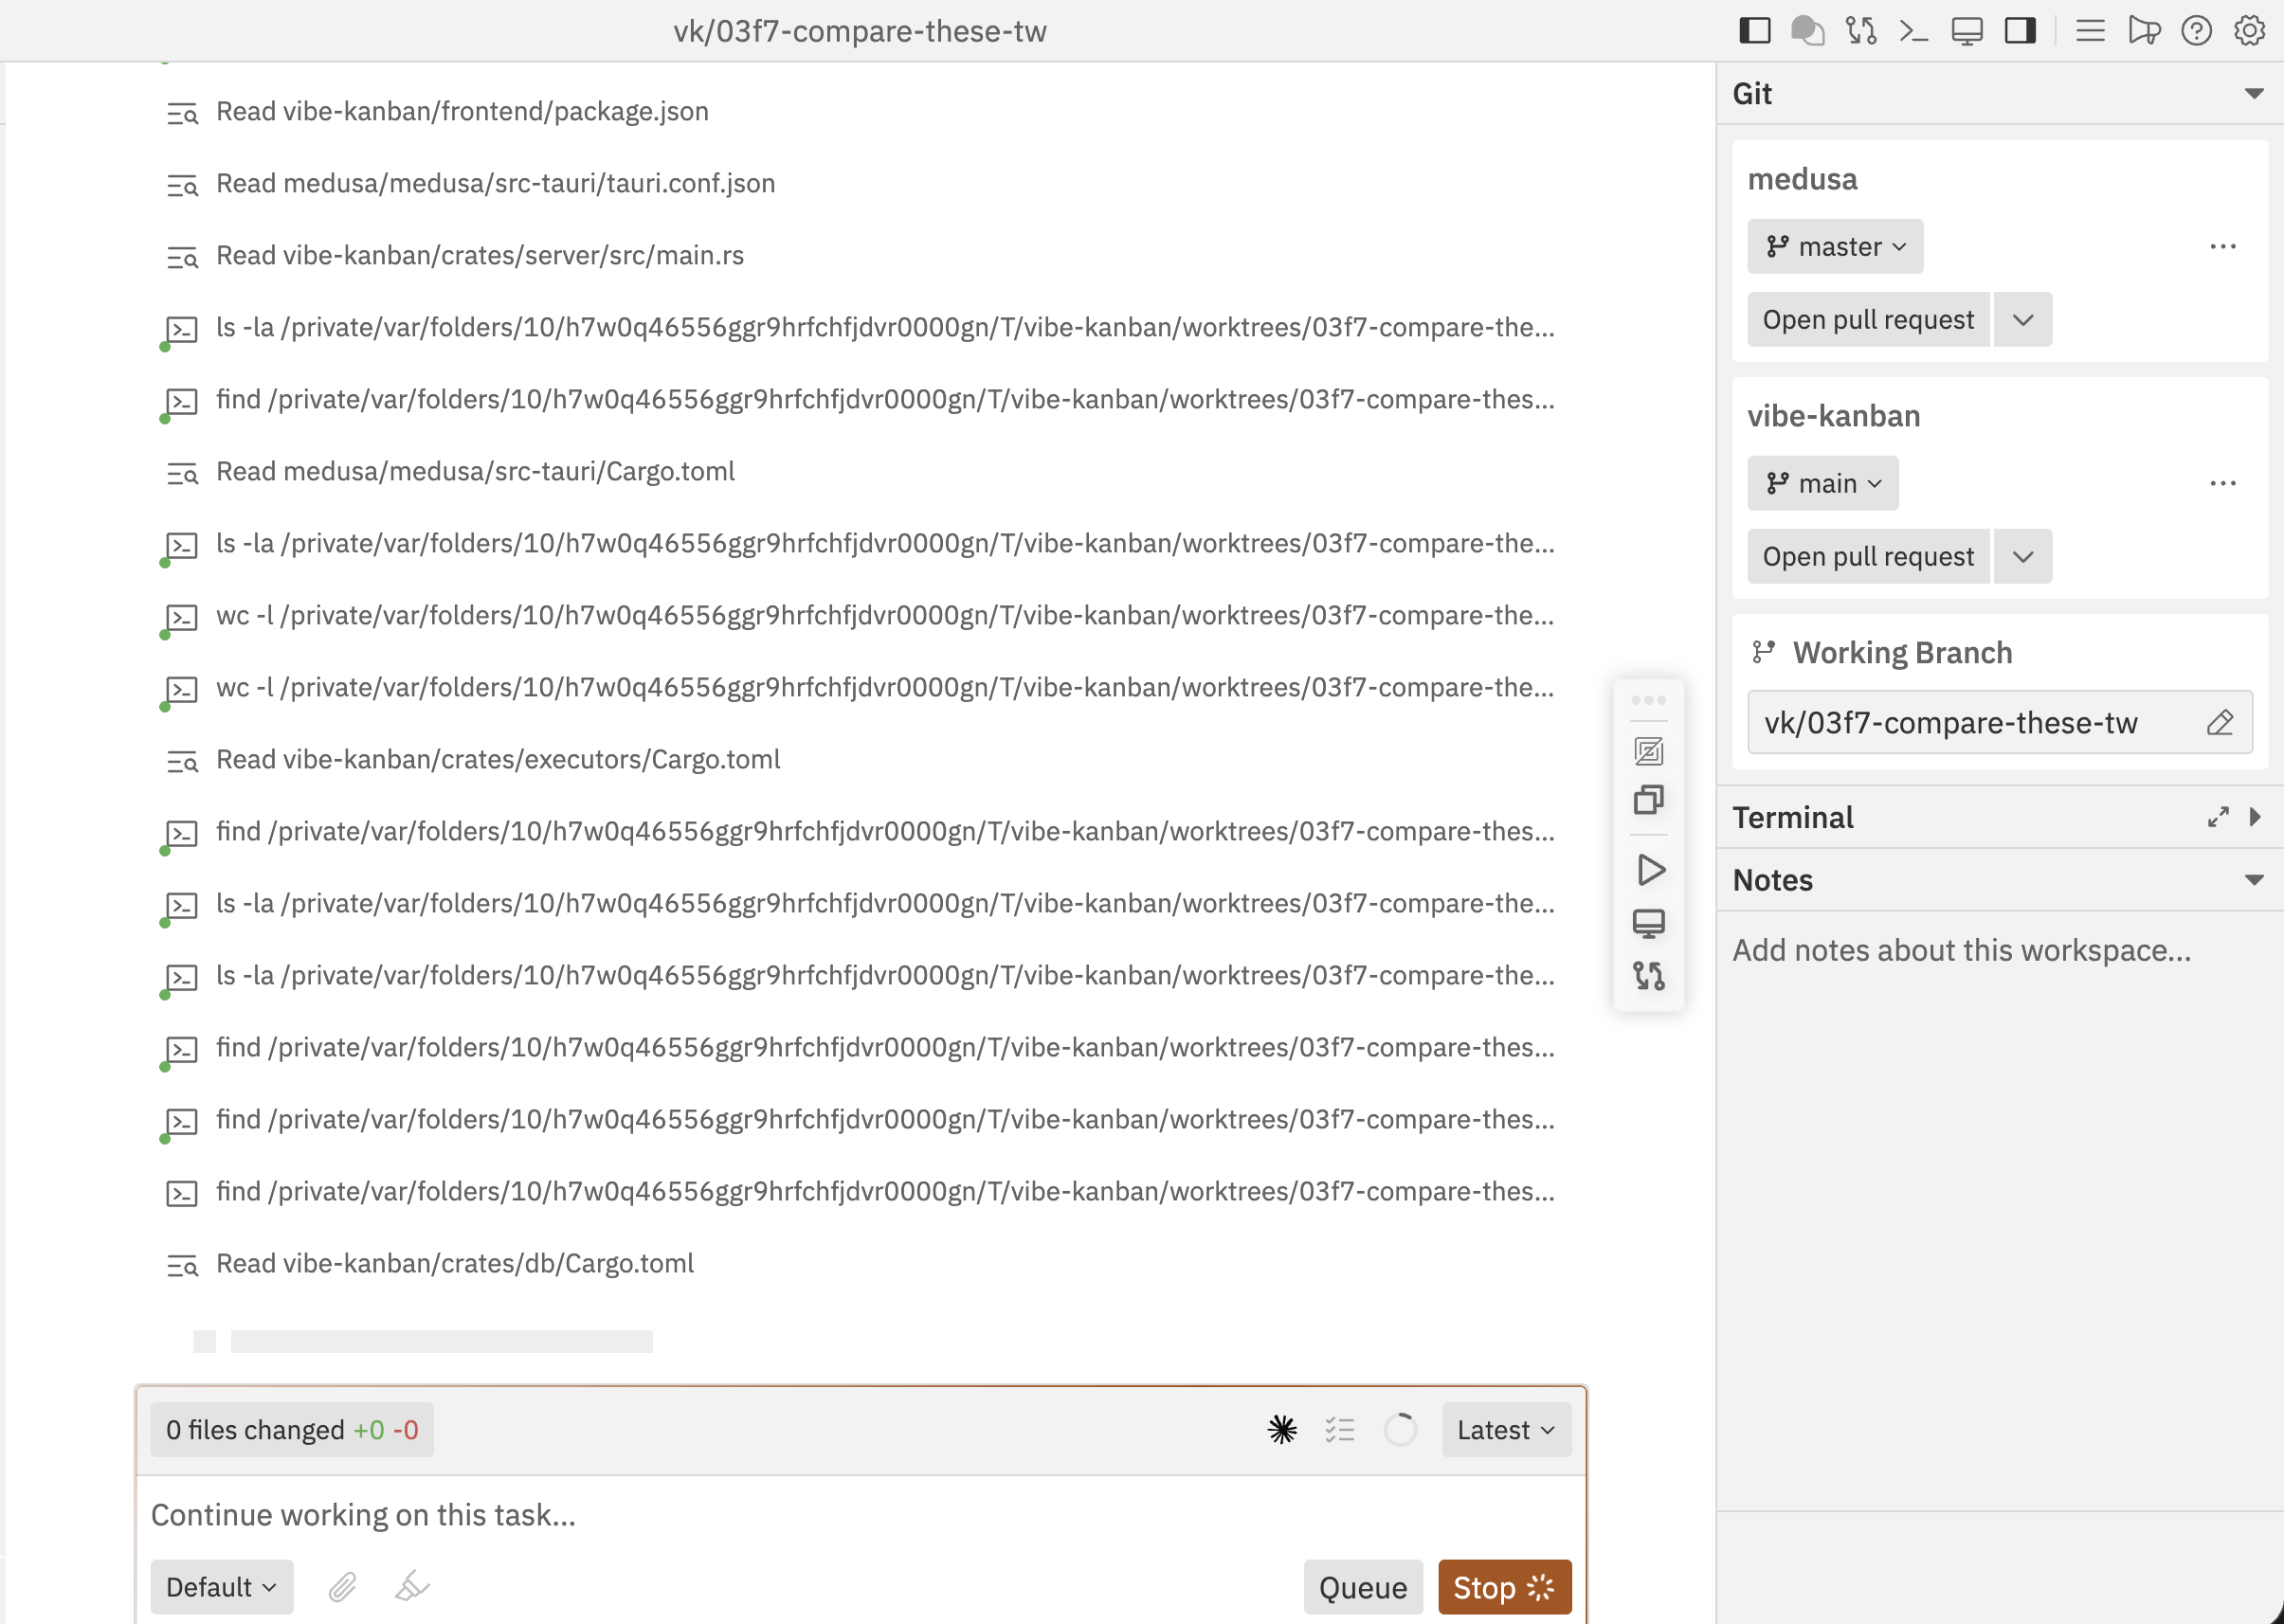
Changing the Target Branch
To change the target branch after workspace creation: From the Git panel:- Click the target branch dropdown (e.g., main) in the Git section of the right sidebar
- Select a new target branch
- Press
Cmd/Ctrl + K - Select Change Target Branch
- Choose the new target branch
Working Branch
When you create a workspace, a working branch is automatically created for each repository. This is where your changes are made. The working branch name is based on your task and branch prefix settings (configured in General Settings).Viewing the Working Branch
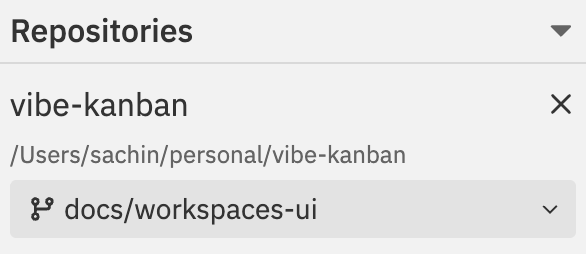
The current working branch is displayed in the Git section of the details sidebar, under “Working Branch”.Multi-Repository Workspaces
When to Use Multiple Repositories
- Monorepo alternatives - Work across frontend and backend repos simultaneously
- Shared libraries - Update a library and its consumers together
- Microservices - Coordinate changes across multiple services
Independent Git State
Each repository in a multi-repo workspace maintains independent git state:- Separate working branches
- Separate target branches
- Individual commit histories
- Independent pull requests
Cross-Repository Context
When working with multiple repositories, the agent can:- Read code from all repositories
- Make changes across repositories in a single session
- Reference patterns from one repo while implementing in another
Repository Actions
Access repository-specific actions through the command bar:| Action | Description |
|---|---|
| Copy Repo Path | Copy the repository’s local path to clipboard |
| Open Repo in IDE | Open the repository in your configured editor |
| Repository Settings | Configure repository-specific settings |
| Create PR | Create a pull request for this repository |
| Merge | Merge the target branch into your working branch |
| Rebase | Rebase your working branch onto the target |
| Push | Push commits to the remote repository |
For multi-repo workspaces, repository actions show which repo they apply to. Select the specific repository when prompted.
Removing Repositories
Related Documentation
- Creating Workspaces - Setting up new workspaces with repositories
- Git Operations - Detailed guide to git commands
- Multi-Repo & Sessions - Working across multiple repositories