Documentation Index
Fetch the complete documentation index at: https://vibekanban.com/docs/llms.txt
Use this file to discover all available pages before exploring further.
What is a Session?
A session is a single conversation with a coding agent. Think of it like a chat thread:- Each session has its own conversation history - messages, code changes, and context
- Sessions share the same files - changes from one session are visible to all sessions
- Sessions are independent processes - one can be running while another is idle
Key point: Sessions share files but not conversation context. If Session 1 makes changes, Session 2 can see those file changes but doesn’t know what instructions Session 1 received.
Understanding Token Limits
AI models have a context window - a limit on how much text they can “remember” in a conversation. When you hit this limit:- The agent may forget earlier parts of the conversation
- Responses may become less accurate
- You’ll see the context gauge turn orange or red
When to Create a New Session
Token limits reached
Context gauge shows high usage - start fresh to give the agent full context capacity.
Parallel work
Have agents work on independent parts simultaneously (backend API + frontend UI).
Different approaches
Try an alternative solution without losing your original conversation.
Different agents
Use Claude Code for one task, Gemini CLI for another.
When NOT to Create a New Session
- Continuing related work - Keep using the same session if the agent needs context from earlier messages
- Providing feedback - Use the same session to tell the agent what to fix
- Small follow-ups - “Also add a loading spinner” belongs in the current session
All sessions within a workspace share the same repositories and git state. Changes made by one session are visible to others.
Creating a New Session
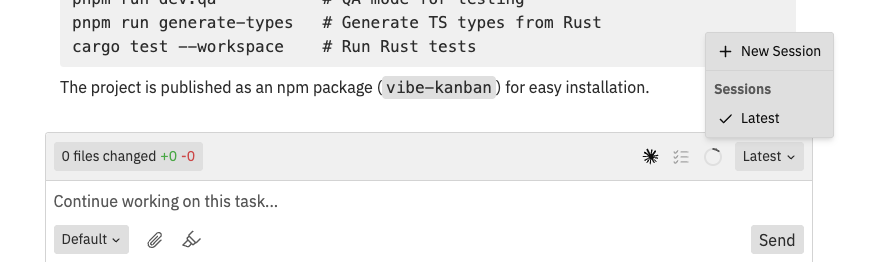
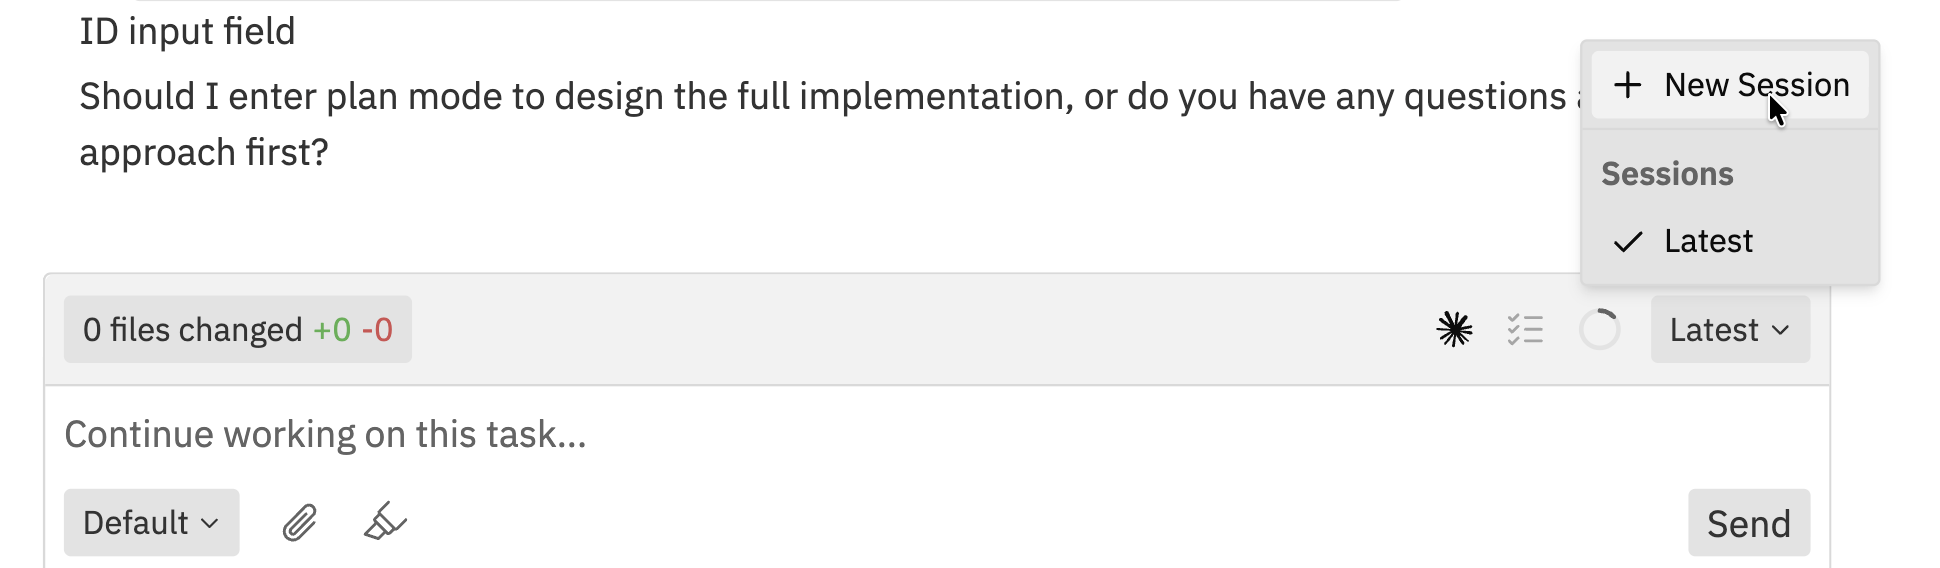
Open the Session Dropdown
Click the session dropdown (showing “Latest” or the session name) in the chat toolbar.
Switching Between Sessions
To switch to a different session:- Click the session dropdown in the chat toolbar
- Select the session you want to switch to
- Session name - Based on the initial task or auto-generated
- Latest indicator - Shows which session was most recently active
Switching sessions doesn’t interrupt any running agent processes. Each session’s agent continues working independently.
Session States
Sessions can be in different states:| State | Description |
|---|---|
| Running | Agent is actively processing and making changes |
| Idle | Waiting for your input |
| Needs Attention | Agent is waiting for approval or has a question |
Managing Sessions
Renaming Sessions
Sessions are automatically named based on the initial task description. Currently, session names cannot be manually changed.Viewing Session History
Each session maintains its complete conversation history. Scroll up in the conversation panel to view earlier messages and agent actions.Stopping an Agent
If an agent is running in the current session:- Click the Stop button in the navbar, or
- Use the keyboard shortcut to stop execution
Multiple Agents in Sessions
Different sessions can use different agents:- Create a new session
- Select a different agent from the Agent dropdown before sending your message
- Each session remembers which agent it’s using
Session Best Practices
When to Create New Sessions
- Task complexity - Break complex tasks into smaller sessions
- Token limits - Start fresh when conversations get long
- Different approaches - Try alternative solutions without losing progress
- Parallel work - Have agents work on independent parts simultaneously
Keeping Sessions Organised
- One focus per session - Keep each session focused on a specific goal
- Use workspace notes - Document which session is for what purpose
- Review before switching - Check the changes panel before switching sessions
Resolving Conflicts Between Sessions
When multiple sessions make changes to the same files:- The changes panel shows all modifications across sessions
- Review changes carefully before committing
- Use the inline comment feature to mark areas needing attention
Git handles most conflicts automatically. For complex conflicts, see Git Operations.
Related Documentation
- Creating Workspaces - Setting up new workspaces
- Interface Guide - Understanding the workspace layout
- Multi-Repo & Sessions - Working with multiple repositories
- Command Bar - Quick actions and keyboard shortcuts