> ## Documentation Index
> Fetch the complete documentation index at: https://vibekanban.com/docs/llms.txt
> Use this file to discover all available pages before exploring further.
# Resolving Rebase Conflicts
> Learn how to handle rebase conflicts when your base branch has advanced, using either manual resolution or automatic conflict resolution with coding agents.
## When You See "Rebase Conflicts"
After clicking the rebase button, if your changes conflict with the base branch, your task status changes to "Rebase conflicts" and a conflict resolution banner appears.
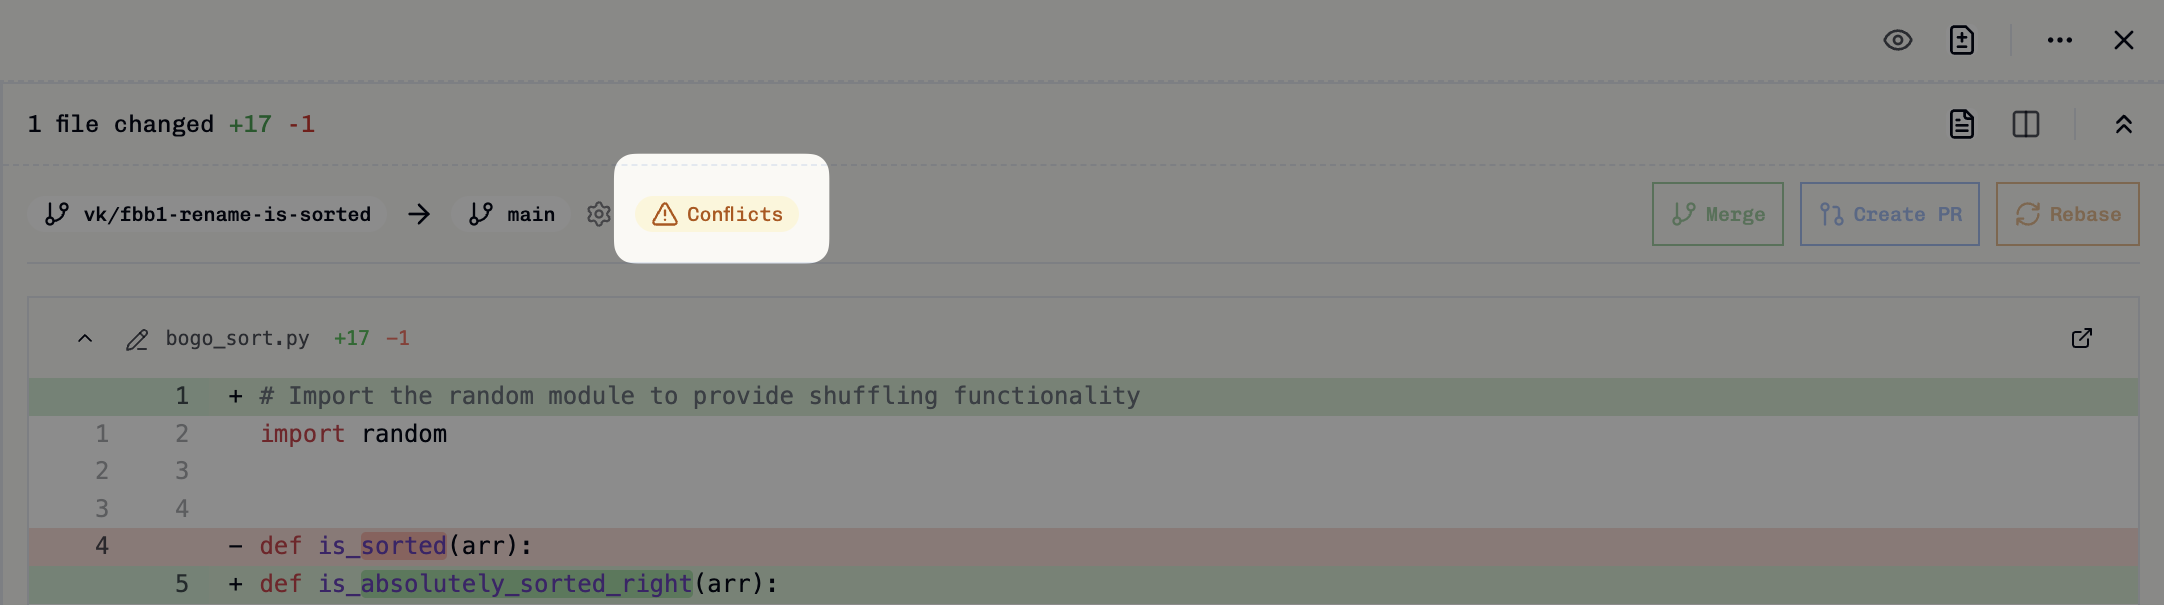 The conflict banner provides three options to resolve the situation:
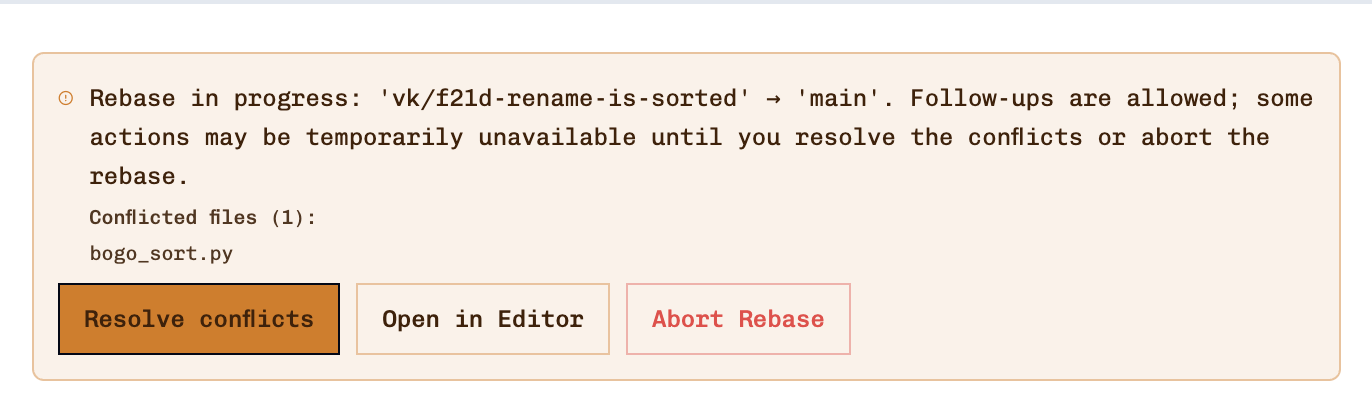 * **Resolve Conflicts** - Auto-generate resolution instructions for the coding agent
* **Open in Editor** - Manually edit conflicted files
* **Abort Rebase** - Cancel and return to previous state
## Resolving Conflicts Automatically
The simplest solution is to let the coding agent resolve conflicts automatically:
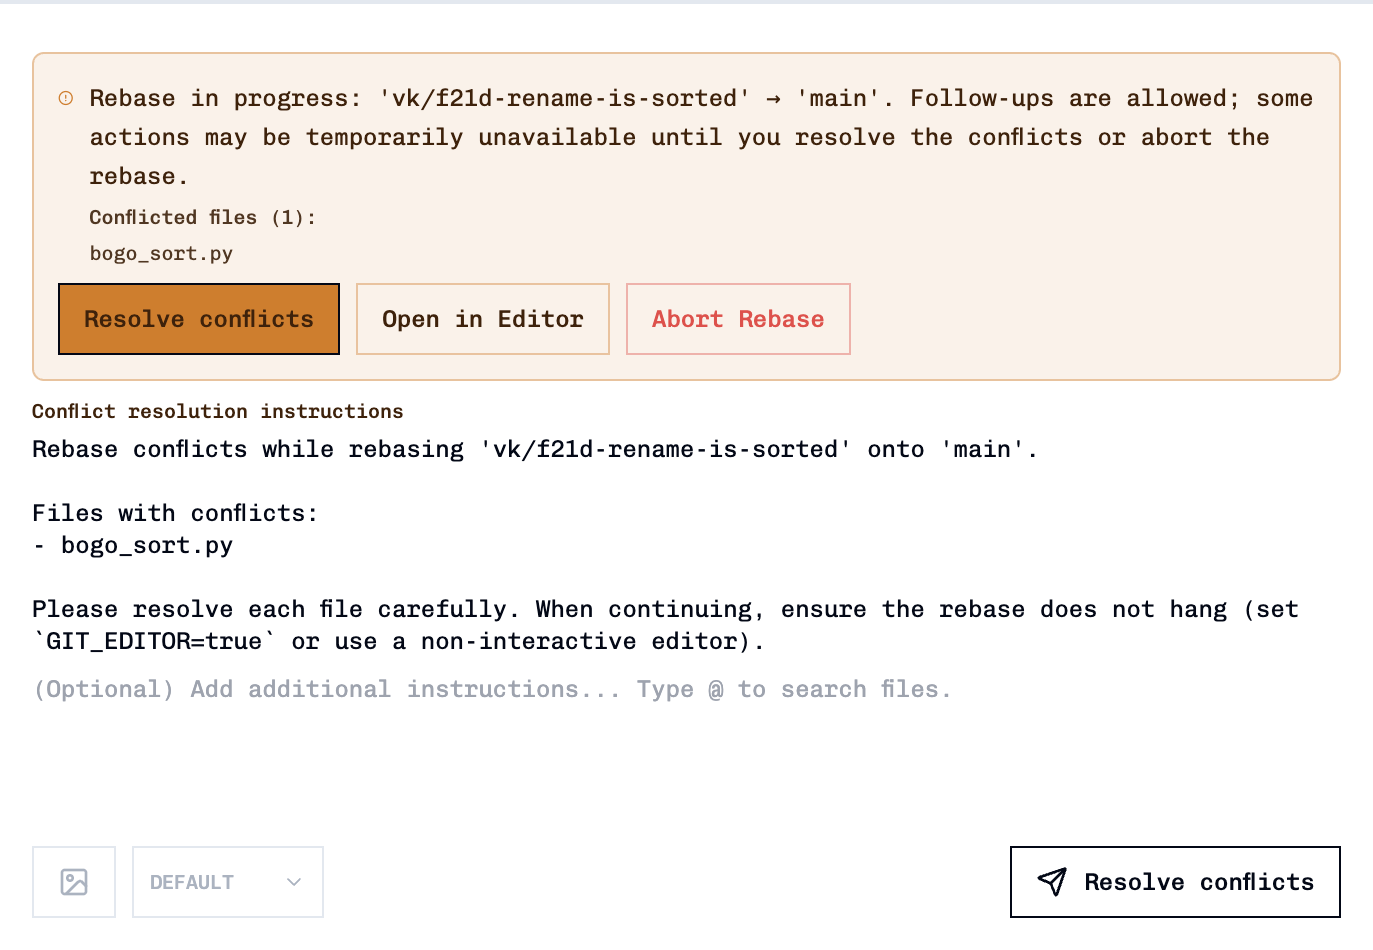
1. Click **Resolve Conflicts** from the conflict banner to generate specific instructions tailored to your conflict situation and insert them into the follow-up message area.
2. Review the generated instructions and click **Resolve Conflicts** (the Send button changes to this) to have the agent analyse the conflicted files and complete the rebase automatically.
* **Resolve Conflicts** - Auto-generate resolution instructions for the coding agent
* **Open in Editor** - Manually edit conflicted files
* **Abort Rebase** - Cancel and return to previous state
## Resolving Conflicts Automatically
The simplest solution is to let the coding agent resolve conflicts automatically:
1. Click **Resolve Conflicts** from the conflict banner to generate specific instructions tailored to your conflict situation and insert them into the follow-up message area.
2. Review the generated instructions and click **Resolve Conflicts** (the Send button changes to this) to have the agent analyse the conflicted files and complete the rebase automatically.
 Once the agent completes the resolution, your task status will show *n* commits ahead and the **Merge** button becomes available again.
## Manual Resolution (Alternative)
If you prefer to resolve conflicts manually, you have two options:
**For single files:** Use **Open in Editor** from the conflict banner to edit one conflicted file at a time. After resolving and refreshing the page, you can press the button again for the next file.
**For multiple files (recommended):** Click the triple dot icon at the top right of the task and select **Open in \[Your IDE]** to open all worktree files in your chosen IDE, where you can resolve all conflicts at once.
Click the triple dot icon at the top right and select **Open in \[Your IDE]** to access all worktree files, or use **Open in Editor** from the banner for individual files.
Resolve merge markers in each file:
```diff theme={null}
<<<<<<< HEAD (your changes)
function newFeature() {
return "new implementation";
}
=======
function oldFeature() {
return "existing implementation";
}
>>>>>>> main (base branch changes)
```
After editing all conflicts, stage and continue:
```bash theme={null}
git add .
git rebase --continue
```
Automatic resolution works best for most conflicts. Use manual resolution only when you need precise control over the merge decisions.
## Aborting a Rebase
If you need to cancel the rebase entirely, click **Abort Rebase** to return to the "Rebase needed" state. You can then try rebasing again or create a new task attempt from the updated base branch.
## Rebasing onto a Different Base Branch
If you've changed the base branch of your task attempt and see commits unrelated to your changes, you can use `git rebase --onto` to rebase only your work onto the new base:
```bash theme={null}
git rebase --onto
```
### Example Scenario
You accidentally created a task attempt from the `develop` branch, but it should have been based on `main`. After changing the base branch to `main` in the task settings, you see commits from `develop` that aren't part of your work:
```bash theme={null}
# Find the last commit before your work started (e.g., in the git log)
# Then rebase only your commits onto main
git rebase 64d504c94d076070d17affd3f84be63b34515445 --onto main
```
This command takes your commits (everything after the specified commit hash) and replays them onto `main`, excluding the unrelated commits from `develop`.
Use `git rebase --onto` carefully. Make sure you identify the correct commit hash—the last commit that isn't part of your current task. Consider creating a backup branch first: `git branch backup-branch`.
Once the agent completes the resolution, your task status will show *n* commits ahead and the **Merge** button becomes available again.
## Manual Resolution (Alternative)
If you prefer to resolve conflicts manually, you have two options:
**For single files:** Use **Open in Editor** from the conflict banner to edit one conflicted file at a time. After resolving and refreshing the page, you can press the button again for the next file.
**For multiple files (recommended):** Click the triple dot icon at the top right of the task and select **Open in \[Your IDE]** to open all worktree files in your chosen IDE, where you can resolve all conflicts at once.
Click the triple dot icon at the top right and select **Open in \[Your IDE]** to access all worktree files, or use **Open in Editor** from the banner for individual files.
Resolve merge markers in each file:
```diff theme={null}
<<<<<<< HEAD (your changes)
function newFeature() {
return "new implementation";
}
=======
function oldFeature() {
return "existing implementation";
}
>>>>>>> main (base branch changes)
```
After editing all conflicts, stage and continue:
```bash theme={null}
git add .
git rebase --continue
```
Automatic resolution works best for most conflicts. Use manual resolution only when you need precise control over the merge decisions.
## Aborting a Rebase
If you need to cancel the rebase entirely, click **Abort Rebase** to return to the "Rebase needed" state. You can then try rebasing again or create a new task attempt from the updated base branch.
## Rebasing onto a Different Base Branch
If you've changed the base branch of your task attempt and see commits unrelated to your changes, you can use `git rebase --onto` to rebase only your work onto the new base:
```bash theme={null}
git rebase --onto
```
### Example Scenario
You accidentally created a task attempt from the `develop` branch, but it should have been based on `main`. After changing the base branch to `main` in the task settings, you see commits from `develop` that aren't part of your work:
```bash theme={null}
# Find the last commit before your work started (e.g., in the git log)
# Then rebase only your commits onto main
git rebase 64d504c94d076070d17affd3f84be63b34515445 --onto main
```
This command takes your commits (everything after the specified commit hash) and replays them onto `main`, excluding the unrelated commits from `develop`.
Use `git rebase --onto` carefully. Make sure you identify the correct commit hash—the last commit that isn't part of your current task. Consider creating a backup branch first: `git branch backup-branch`.